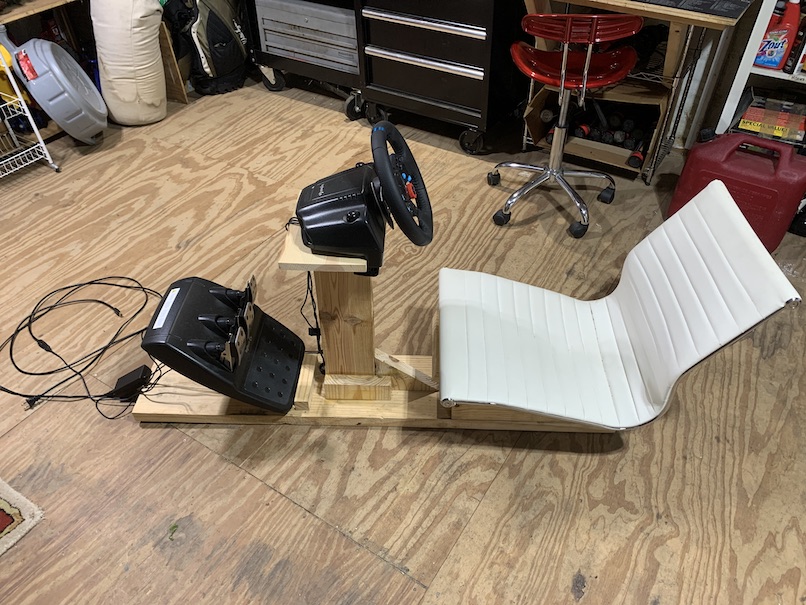
Building a DIY Racing Rig
I enjoy racing games. I wanted to build the most fun racing rig I could for the least amount of money in a reasonably quick amount of time.
I know I could have bought a rig for slightly more money, but I enjoyed the time building.
Note - I didn’t really take any measurements, nor will I provide any. I figure it makes more sense to feel it out yourself, as you’ll want to customize the seat angle, wheel distance, wheel height, and pedal distance to yourself. I glued all wood and then secured it with the nail gun, but you could use screws too.
Here’s how I did it:
Tools:
- Drill
- Drill Bit
- Nail Gun (opt.)
- Staple Gun (opt.)
BOM (~$300):
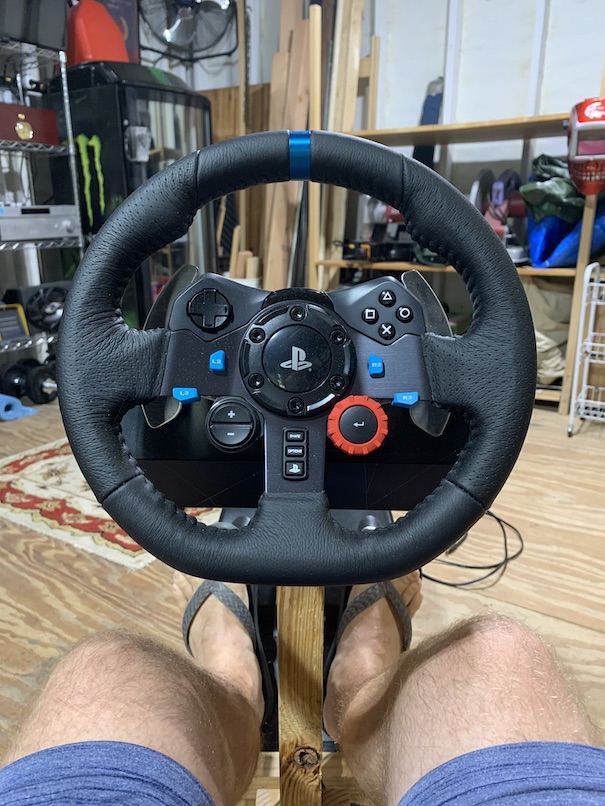
- Logitech G29 Racing Wheel for PS4/PC (~$220)*
- USB 3.0 Extension (~$8)
- A Comfortable Chair
- 2”x12”x8’ (1) - base, and seat base
- 2”x6”x8” (~4) - seat angle, pedal angle, wheel mounting board beam
- 1” common board - pedal base, wheel mounting board
- Construction Screws
- Wood Glue (~$8)
- Cable Management Velcro (~$16)
- Mounting Tape (~$6)
* Price fluctuates pretty wildly; I picked mine up for the listed price.
FYI: If you buy something through an Amazon link, I may earn a commission.
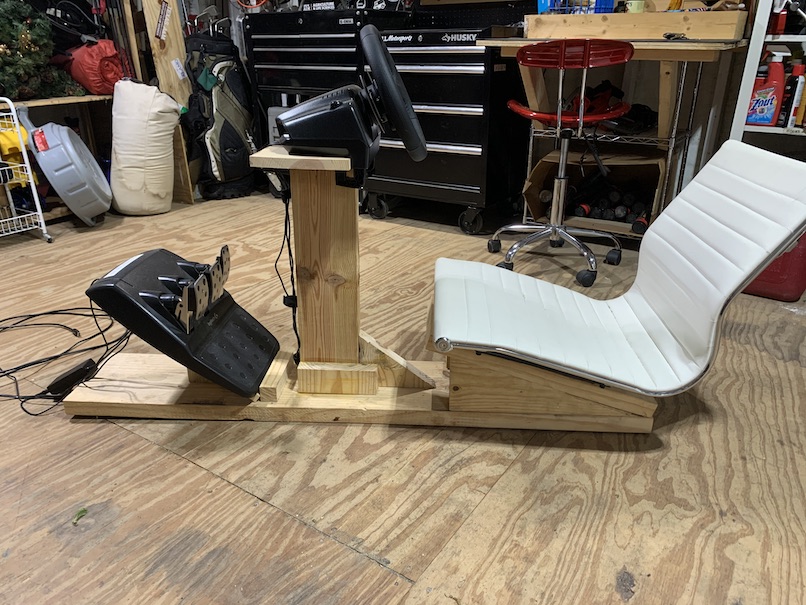
0. The Base
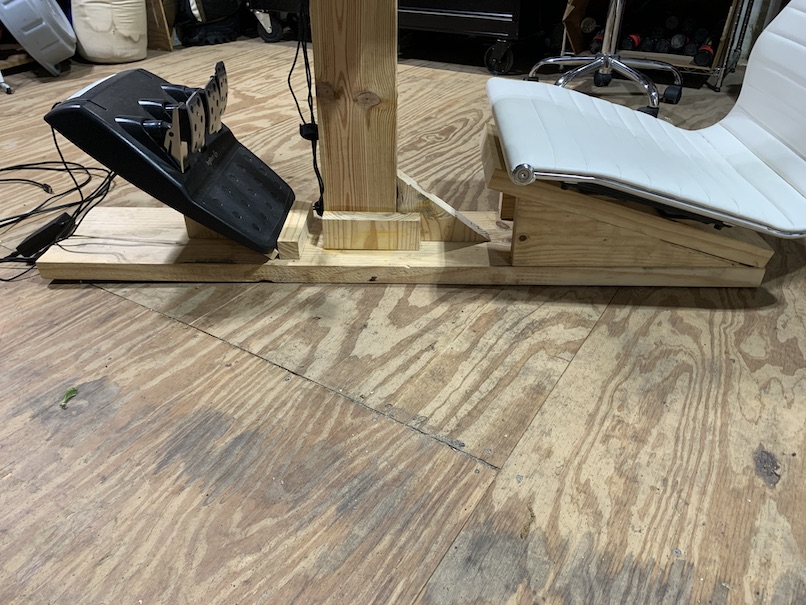
I cut a the 2”x12”x8” to a comfortable length from sitting on the back to where the pedals should be. I reserved the remaining wood to secure the seat to.
1. The Seat
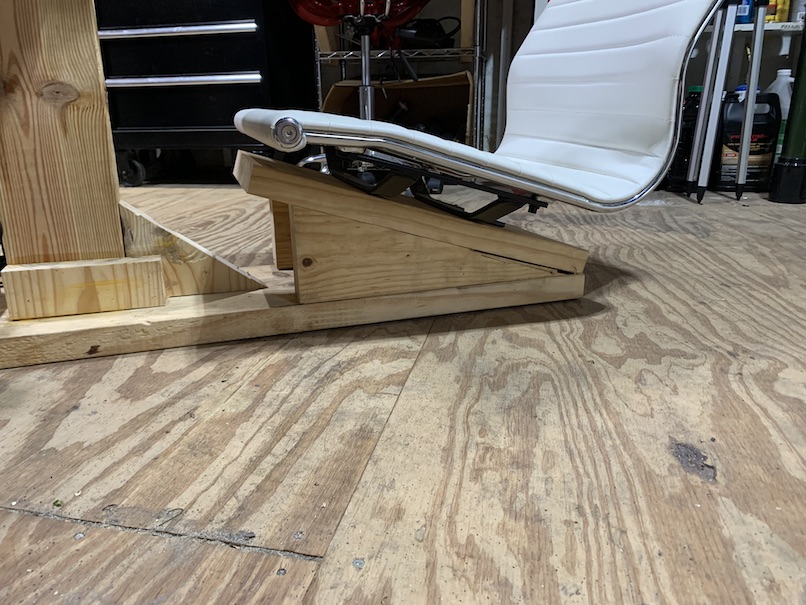
Next, I cut two lengths of the 2”x6”x8” diagonally to angle the seat back. I then drilled holes in the seat board for the seat’s mounting bolts where it previously connected to the wheeled base. I then secured the seat board to the angled boards, and then reached under the seat board to bolt the seat in place.
2. The Pedal Base
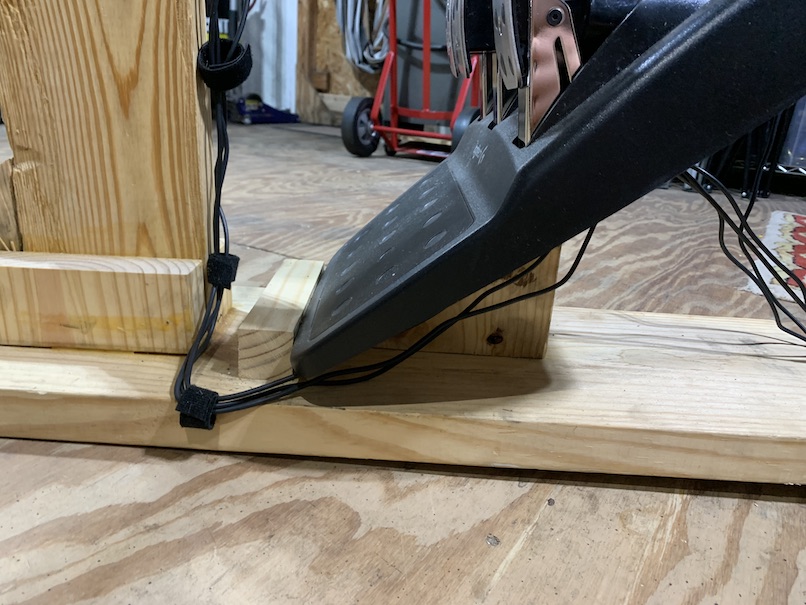
For the pedals, I cut a length of the 2”x6”x8” diagonally to angle the pedals, then I cut a piece of common board and secured it to the angled board to mount the pedals on. I cut a small square length to place at the base of the pedals to keep them from sliding down.
The pedals didn’t have any mounting mechanism, so I used some double sided mounting tape to secure them down to the common board. It’s held up fine.
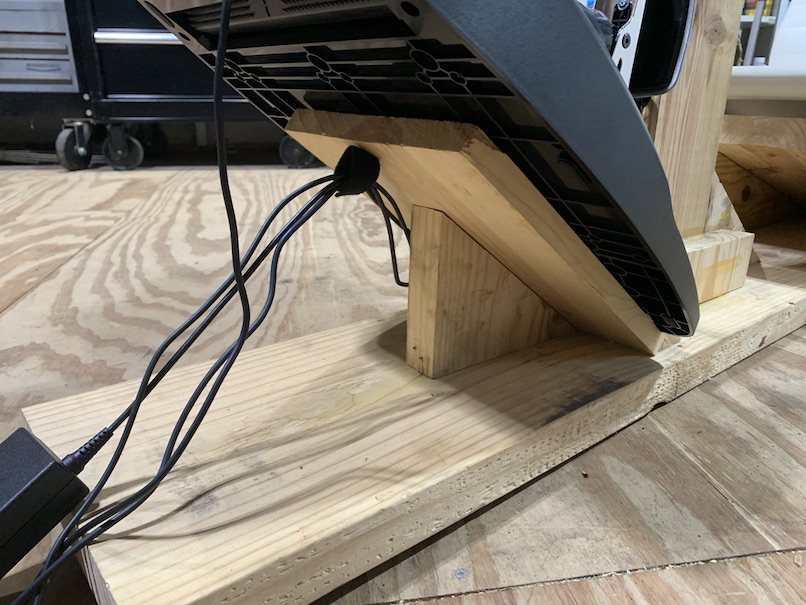
3. The Wheel Base
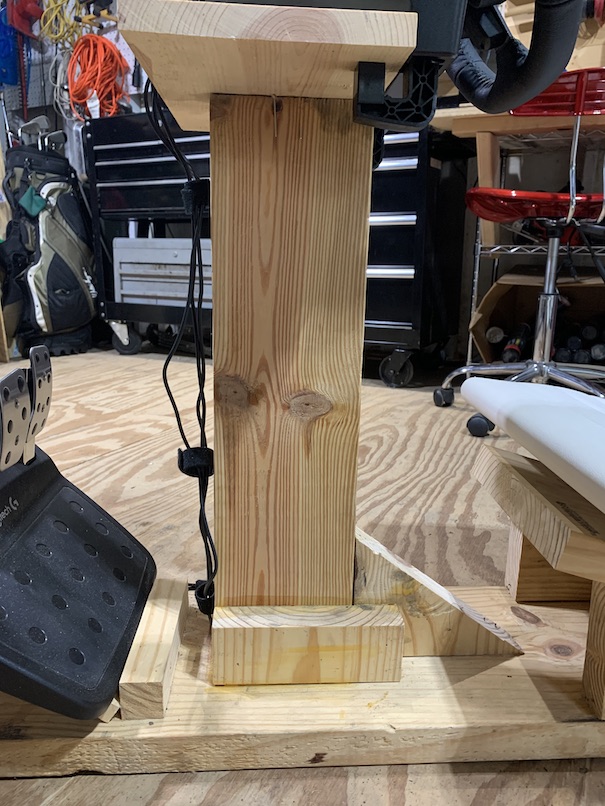
For the last major component of the rig, I cut a length of the 2”x6”x8” to raise the racing wheel to a comfortable height, then I secured a piece of mounting board on top to mount the wheel to. I was a bit worried about the stability, so I cut some extra pieces to glue down to add some strength to the base.
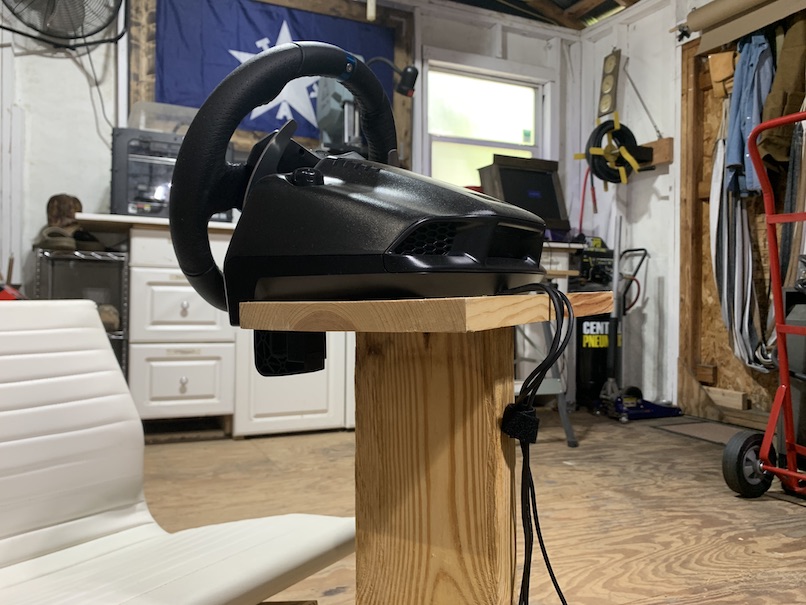
The wheel mounts perfectly to the 1” common board.
4. Securing the Wiring
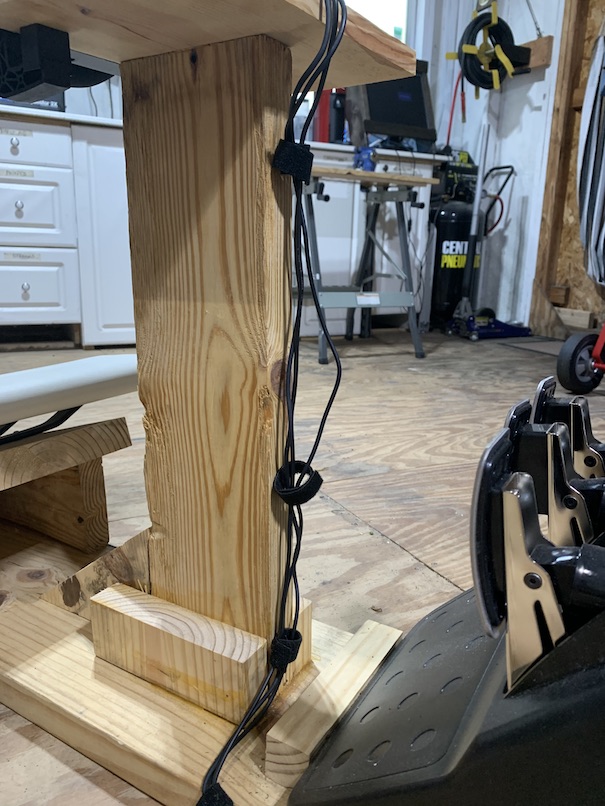
I like to cut some short lengths of cable management velcro and staple it in to the wood to create loops to retain the wires. You could alternatively use screws rather than staples. I’d suggest a couple of loops to make sure the wires are tucked out of the way.
Use the USB extension to give yourself some extra distance between your console / PC and the racing rig.
5. Go Racing
You’re done! Play some racing games 🏎️. My personal favorite is F1 2019.