Setting Up a Home VPN with Docker
This is old and I wouldn’t do it this way again. Try my new post on building a home server.
I have a home server. I run a handful of applications as Docker containers on this server, like Plex, Folding@home, and (shameless plug) Shrodinger.

My home server “cabinet”.
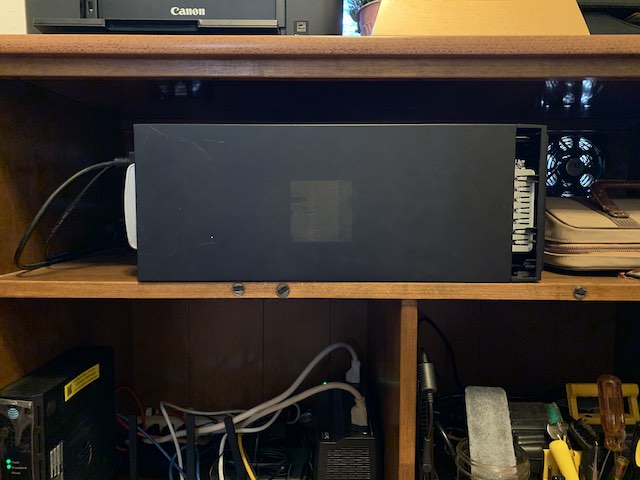
My home server.
While in an airport some time ago, I realized it would be nice to have my own VPN running at home I could tunnel through. Plus, it would be nice to have access to my home applications.
I’ll describe how I set that up.
FYI: If you buy something through an Amazon link, I may earn a commission.
PS - I had cooling issues from the start with this cabinet when I realized I was comically duped by the fake slats on the doors 🤦. I resolved this entirely by drilling an air inlet and outlet in the back and installing USB fans to create an air flow in, through the server, and out again. The router and switch are on a cheap battery backup so they stay on for a short period of time if the power blips or goes out.
0. Prerequisite Docker Host
My server (a ThinkStation I picked up on Craigslist) runs Ubuntu 18.04 LTS (I’ll upgrade it to 20.04 LTS sometime in the near future). My server has a CAT6 line to a switch, then a CAT6 line from the switch to the router. The server’s speed depends on the CATegory of ethernet is uses.
PS - 1ft patch cables are pretty short. I’d get a longer cables in retrospect.
It runs Docker 19.03.5 (after installing, I had to follow these steps to run docker without sudo). I recommend portainer for a GUI to managing your Docker containers. I prefer using it for managing my Docker containers over the CLI through SSH.
I run all of my containers with the flag --restart=always to make sure they come back up if my server is rebooted.
1. Dynamic DNS
I needed a static way to access your server remotely, which is harder when you don’t have a dedicated IP. To solve this problem I use dynamic DNS. I created a CNAME on a domain I own and run joshuaavalon/cloudflare-ddns (as a daemon) to update that CNAME with the current external IP address of my home server when it changes.
2. VPN
I use hwdsl2/ipsec-vpn-server for my VPN. I specify VPN_IPSEC_PSK, VPN_USER, and VPN_PASSWORD so they persist.
3. Port Forwarding
Once Dynamic DNS is set up and our VPN is running, the UDP ports 500 and 4500 need to be forwarded. In my particular case, I have an fiber AT&T modem/router in IP Passthrough mode and then my router, and I had to forward those ports through both.
PS - my router is a TP-Link AC2600. I did a lot of research before purchasing - it’s the best router I found with great coverage of my small home, yard, and detached workshop out back, and also has a mobile app for management.
At this point - you should be able to configure your phone or computer with an IPsec client connecting through your dynamic DNS to your home VPN server.
4. Troubleshooting
- Are the ports forwarded?
- Are the ports blocked by your ISP?
- Are the ports blocked by your firewall?
- Is the dynamic DNS resolving?
5. Bonus: Custom Domains
I wanted to be able to resolve my home server and its various applications via domain names, so to do that I set a reverse proxy and home DNS. I only set up custom domains over port 80 since we’re connected through the VPN.
To do this, I set up an isolated bridge network in Docker. I started by moving hwdsl2/ipsec-vpn-server to that bridge network.
6. dnsmasq
I first deployed jpillora/docker-dnsmasq to my new network with a static IP address and mounted a dnsmasq.conf file. In that file, I added my upstream DNS servers and my custom domains, all pointing to the server’s local IP address:
no-resolv
server=1.0.0.1
server=1.1.1.1
strict-order

address=/example.com/192.168.86.2
address=/example2.com/192.168.86.2
I also exposed port 53 on the server’s firewall, but didn’t forward the port since we’re connecting to it through the VPN.
7. haproxy
Next, I deployed haproxy in the same network. I mounted a haproxy.cfg file setting up my defaults, frontend, and backends:
global
    daemon

    # Default SSL material locations
    ca-base /etc/ssl/certs
    crt-base /etc/ssl/private

    # Default ciphers to use on SSL-enabled listening sockets.
    # For more information, see ciphers(1SSL).
    ssl-default-bind-ciphers kEECDH+aRSA+AES:kRSA+AES:+AES256:RC4-SHA:!kEDH:!LOW:!EXP:!MD5:!aNULL:!eNULL

defaults
    log     global
    mode    http
    option  httplog
    option  dontlognull
    timeout connect 5000
    timeout client  50000
    timeout server  50000

frontend fe
	bind *:80
	acl example hdr(host) -i example.com
	acl example2 hdr(host) -i example2.com
	mode http
	default_backend example_be
	use_backend example_be if example
	use_backend example2_be if example2

backend example_be
	mode http
	server example 192.168.86.2:9001

backend example2_be
	mode http
	server example2 192.168.86.2:9002
I exposed it on port 80 (again, I didn’t forward the port).
8. Wiring Up DNS
Last, I came back to hwdsl2/ipsec-vpn-server and set my DNS servers. I use my jpillora/docker-dnsmasq container first, then fall back to Cloudflare.
VPN_DNS_SRV1 = 172.20.0.3
VPN_DNS_SRV2 = 1.1.1.1
Note that VPN_DNS_SRV1 is pointing to the local static IP address of the jpillora/docker-dnsmasq container that resides in the same bridge network.
At this point, if you restart all your containers, you should be able to access your local DNS through your VPN.
9. Troubleshooting
- Are you on the same network? You can’t VPN in while already inside the network, even on a guest network.
- Is DNS resolving on your test device? You can test using
digandpingwith a shell on your test device (I found myself troubleshooting with a shell on my phone VPN’d in over mobile data). - Is DNS resolving from inside your VPN container?
- Do you see any errors if you enable verbose logging in either jpillora/docker-dnsmasq or haproxy?