Building an Arcade Emulator
A coworker once built an arcade emulator from scratch. He used a CNC machine to cut a fantastic full-size cabinet, dropped in an old monitor, and wired up a pair of joysticks he’d found on Amazon. It was a neat setup, but I wanted something a bit more compact and console-focused.
Instead of the old-school stand-up cabinet, I built a desktop unit using scrap wood and an Intel NUC. I set it up to emulate the consoles I grew up with—SEGA Genesis, N64, GameCube—and paired it with a set of SNES-style controllers. It’s a fun, low-profile way to revisit the classics.
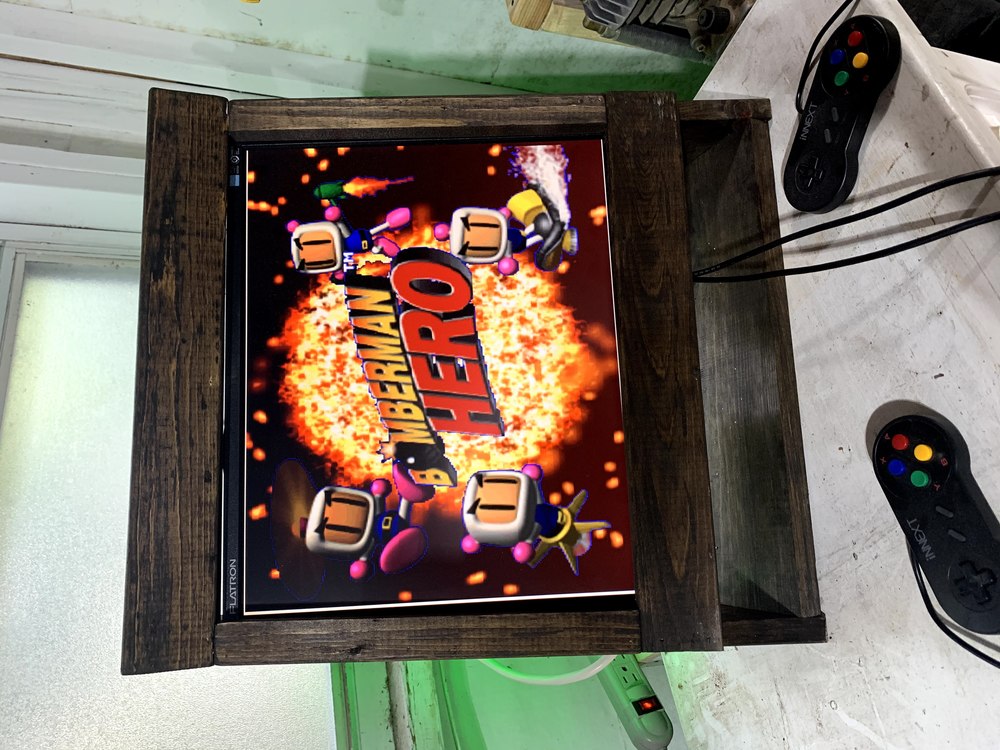
I cleaned up the finish after taking these photos, FYI.
BOM (~$50, assuming you have the PC and scrap wood)
- The Brain: Intel NUC (any old PC or Raspberry Pi will work, depending on the emulators you intend to run).
- The Case: Scrap 1” common board board and some wood glue.
- The Control: SNES-style Controllers and USB Extension Cords.
- The Flare: LED Strip (the most important part).
- The Rest: Finish (stain/paint), slim PC speakers, and an old LCD monitor.
FYI: If you buy something through an Amazon link, I may earn a commission.
The Build
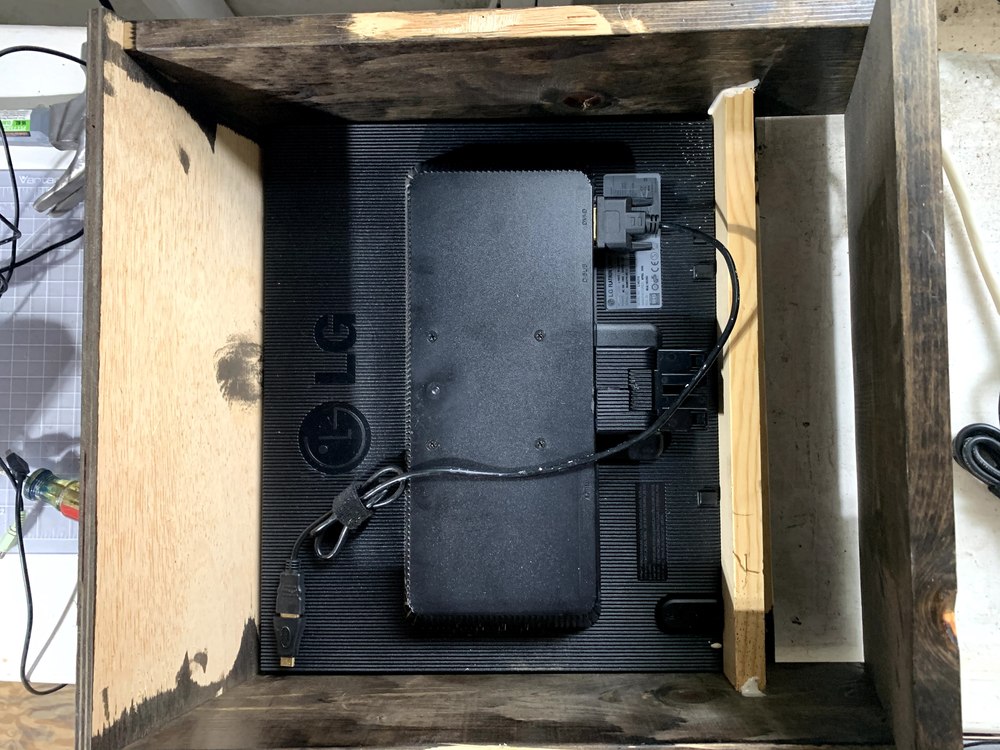
First, I framed the cabinet around the monitor. I built a small shelf for the screen to sit on and a second shelf above it to house the NUC. To keep it looking clean, I used some black caulking around the monitor bezel to prevent any backlight from bleeding through the gaps. I also left a small cavity at the bottom for controller storage.
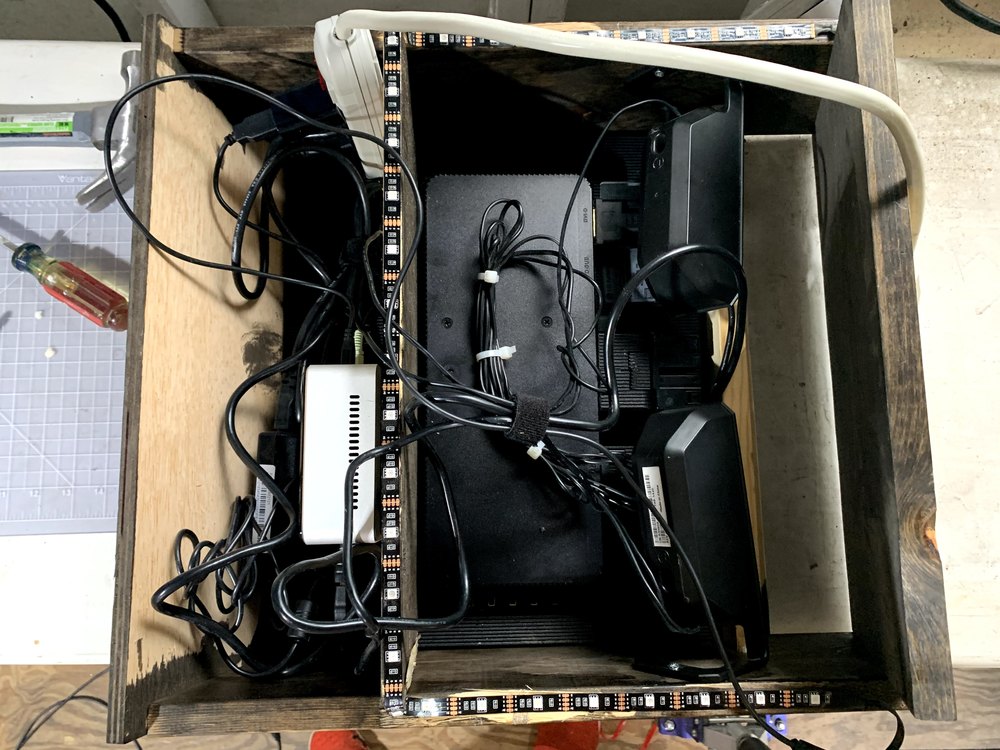
Next, I stuffed the electronics in and adhered the LED strip. Pro-tip: I added a WiFi smart plug so I can toggle the whole rig on and off via voice or my phone.
The Software
The rig runs Ubuntu. I configured automatic login so the system boots directly into the UI without needing a keyboard or mouse.
From there, I followed the RetroPie Ubuntu docs for the software stack. Ubuntu recognized the USB controllers immediately; I just had to run through the standard button mapping in RetroPie. I wrapped it up by setting RetroPie to launch at boot.
Finally, I loaded up the emulators with the games of my childhood. That’s it—retro gaming on modern hardware.

in the configuration options.
Lastly, I setup some additional emulators and acquired some games. That’s it!