Building a Raspberry Pi Speedometer
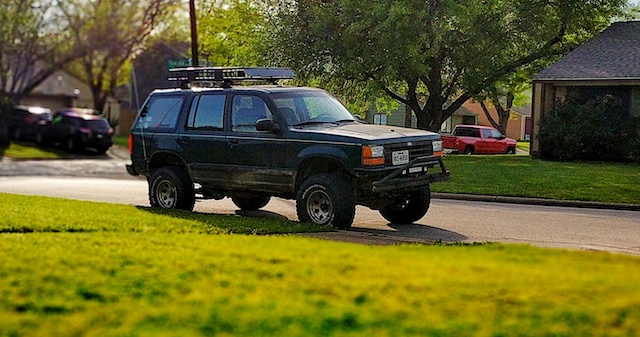
Back in April of last year, the speedometer failed in my ‘94 Explorer. Rather than hunting down a replacement cable and tearing apart the dash just to restore an old analog needle, I opted to build a digital replacement using a Raspberry Pi and GPS.
BOM (~$100)
- Raspberry Pi 4 (~$40)
- Heatsink Case (~$7)
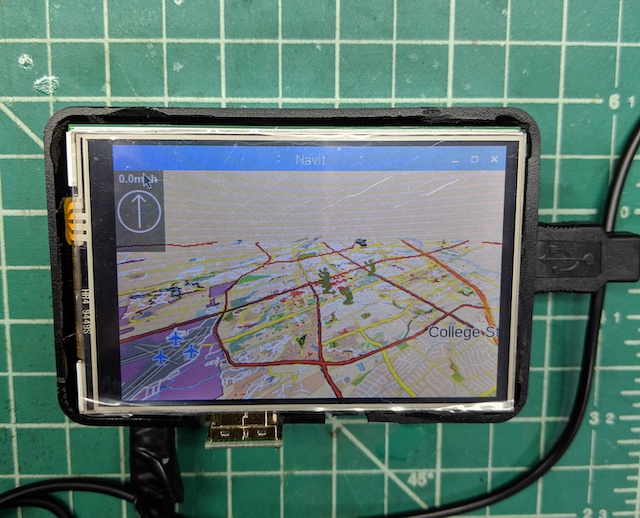
- 3.5” LCD Touchscreen Display (~$30)
- GPS Receiver (USB/Serial) (~$20)
FYI: If you buy something through an Amazon link, I may earn a commission.
The Build
I kept the physical build simple. I discarded the top of the Pi case and used a Dremel to clear space for the HDMI bridge that links the LCD to the Pi.
Software-wise, I flashed Raspbian, installed Navit for the mapping and data visualization, and hooked up the hardware. Out of the box, Navit provides a solid base for speed and GPS data.
Installation
To make it a permanent fixture, I configured the Pi for automatic login and set Navit to launch at boot.
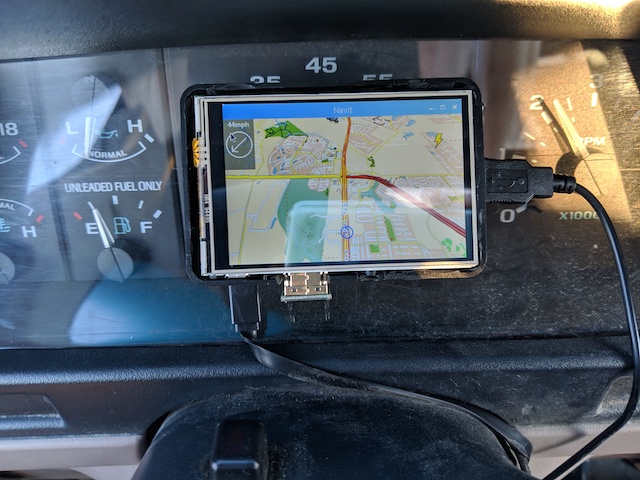
I used Command strips to adhere the unit to the center of my dashboard—sturdy enough for bumpy roads but easy to pull if I need to update the SD card. I ran the magnetic GPS receiver to the underside of the roof for clear signal and tapped into an ignition-switched power source behind the dash.
Pro-tip: If you wire yours to an always-on source, use an inline switch. These things will cause a parasitic leak and kill your battery if left sitting.
The Result
I eventually customized the Navit XML configuration to make the MPH readout much larger and more readable.
Is it sexy? Not really. But it solved a mechanical failure in an afternoon with modern parts. GPS lock usually happens within 15-30 seconds—far more reliable than the cheap standalone digital speedometers I tested first.
It’s been a perfect replacement for a 30-year-old plastic cable.